Second row
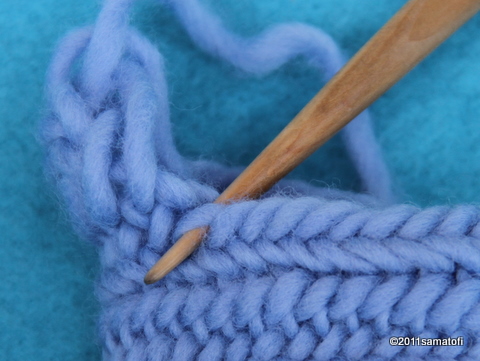
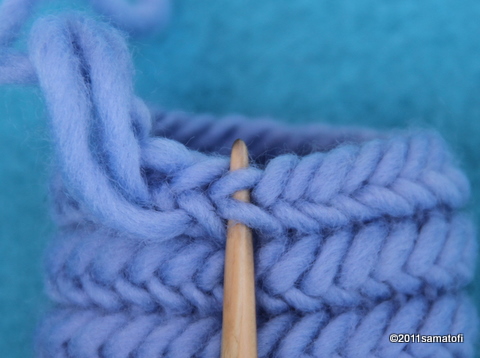
New stitches are connected to the previous row, into one or two edge loops. The two most common ways of doing this are F1 and F2.
Below photos and videos of F1, F2, B1, B2, M1, M2, M1+F1, Bottom1+F1.
Compare how the connection stitch affects the surface
Finnish Stitch 2+2 (link)
Russian Stitch 2+2+2 (link)
 |
|
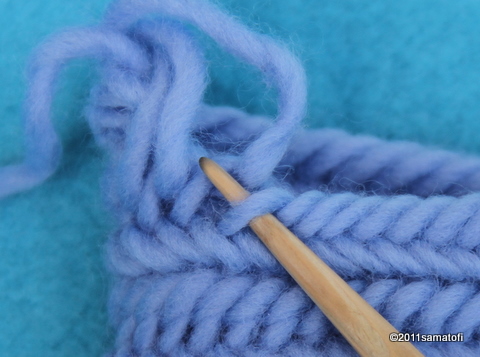
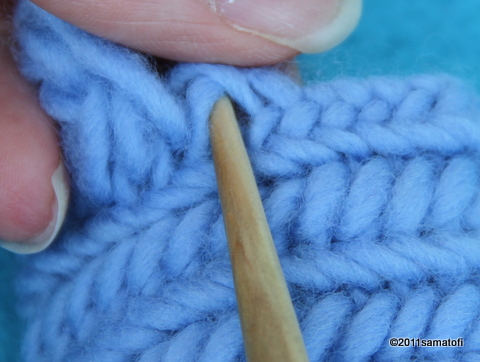
F1 = connect into one edge loop
|
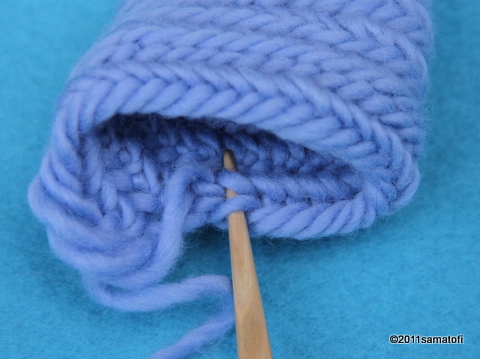
How to join a chain of stitches (a foundation row) to a circle
Finnish Stitch 1+1 (Oslo Stitch) (link)
 |
|
F2 = connect into one 'new' loop, and one 'once used' loop
|
 |
|
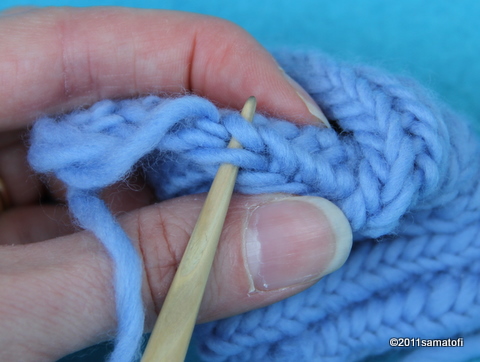
B1 = connect into one edge loop,
insert needle from back to front
|
 |
|
M1 = Mid-1
either from left to right
or from right to left
|
 |
|
M1+F1 = Mid-1 + Front-1
|
 |
|
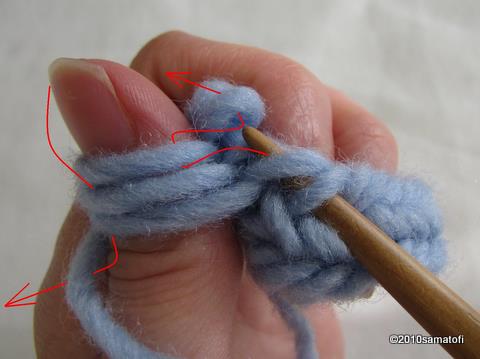
Connection in the Parikkala style,
"under X"
(involves a plaited edge)
|
 |
 |
|
F1+R1 = F1 + one loop on the reverse
|
Connecting on the reverse is quite easy,
if you keep the edge of your work folded
forwards and downwards.
|
How to connect the new stitches to the previous row
Video A, common ways, F1 F2 B1 B2 (link)
Video B, common ways, F1 M1 M2 (link)
Video C, to the reverse side (link)
F = Front, insert the needle into the edge loop(s) from front to back
B = Back, insert the needle into the edge loop(s) from back to front
M = Mid, not into the edge loop, but further below on the front side, either from right to left, or from left to right (e.g. Kaukolan Kekomäki Stitch, and Müsen Stitch).
Bottom1+F1 = the connection used in Åsle Stitch (link).
|

